Making a "state of the art" irrigation system for your lawn might seem easy, but in reality it is not at all.
In this article we will not go into technical details that would be difficult for the simple hobbyist to understand and apply, nor will we talk about the assembly system at all, but we will simply talk about basic rules to take into account, we will give indications on how to prepare and build a system " automatic fai-date "that takes these rules into account and we will see which main materials to use.
PHASE 1 - THE DESIGN
The first thing to do is to design your own system. To do this, you need two fundamental data: the shape of your garden and the technical data of the water supply.
For the first it will be necessary to create a floor plan with the exact measurements of the garden. Obviously, the ideal would be to turn to a professional in the field such as a surveyor or an engineer, but you could, in the easiest cases, realize it independently by measuring your garden with a metric roll. For the second, the technical data of the pumping system that will serve the system must be available (the model of the pump, the flow rate in l / min, the thrust pressure in bars, etc.).
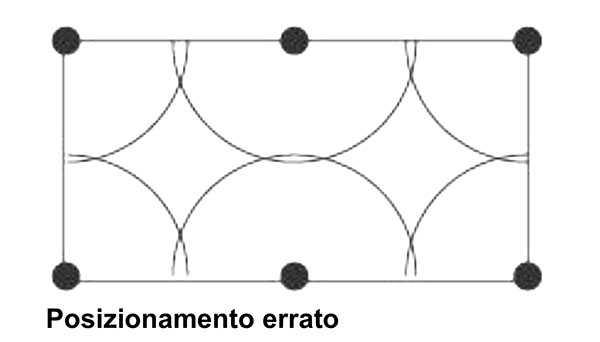
The goal will be to create a "full coverage" system where the jet of one sprinkler reaches the tip of the next sprinkler, so the jets will overlap each other completely or almost. This will allow an identical fall of water in every area of the garden and will prevent excess water in some areas and deficiency in others.
Below is an example of incorrect and correct positioning:
 |  |
The project will determine the following factors:
- number of zones to be created and type of solenoid valves to be used;
- number and type of sprinklers to be installed for each zone;
- type of control unit or programmer to choose;
Here is an example of a complete design made at a demonstration level byRain Bird:

Obviously, the ideal would be to have the project carried out by professionals who usually release the list of materials to be used together with the project.
PHASE 2 - CHOICE OF COMPONENTS
THE IRRIGATORS
The choice of sprinklers will be determined in the design phase based on the water supply. Basically, it can be oriented on two types of sprinklers: static or dynamic.
In the same system it may be necessary to install both types of sprinklers depending on the conformation of the areas to be irrigated, but they must never be installed both on the same area (or line) at the same time because they have a very different "precipitation". So, to understand better, in a 3-zone system there could be one zone with static sprinklers and 2 with dynamic sprinklers or vice versa, but never mixed together on the same area.
STATIC
Static sprinklers exist in many sizes (height) and have a so-called "fixed" or "fan" jet with a fixed head or nozzle, that is, it does not rotate. The nozzles of these sprinklers will be chosen based on the angle and the range they will cover. There are also nozzles with fixed angle and nozzles with adjustable angle.
 | 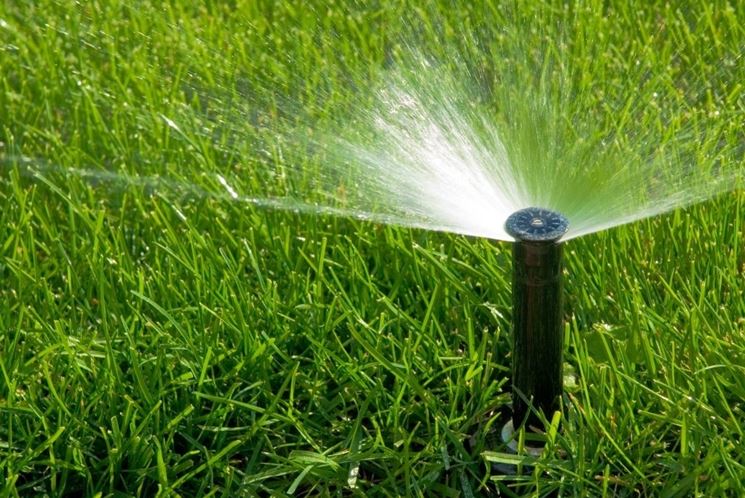 |
Example of a static sprinkler: Toro LPS210 oRain BirdUS410.
These will be mounted at a distance of about 3 meters from each other and the working angle will have to be adjusted simply by turning and locking the ring nut to the desired degree of angle.
DYNAMIC
Even for dynamic sprinklers there are different types and sizes depending on the area to be covered. This type of sprinklers are usually used to cover larger areas as they guarantee a longer range. In fact, on average, this type of sprinkler starts with a minimum radius of 4.5 m. The length of the throw will be determined by the flow rate and pressure of the water supply and by the nozzle that will be mounted on the sprinkler. Compared to static sprinklers, however, they have a lower "precipitation" (therefore a water flow) (referring to sprinklers commonly used on residential systems).
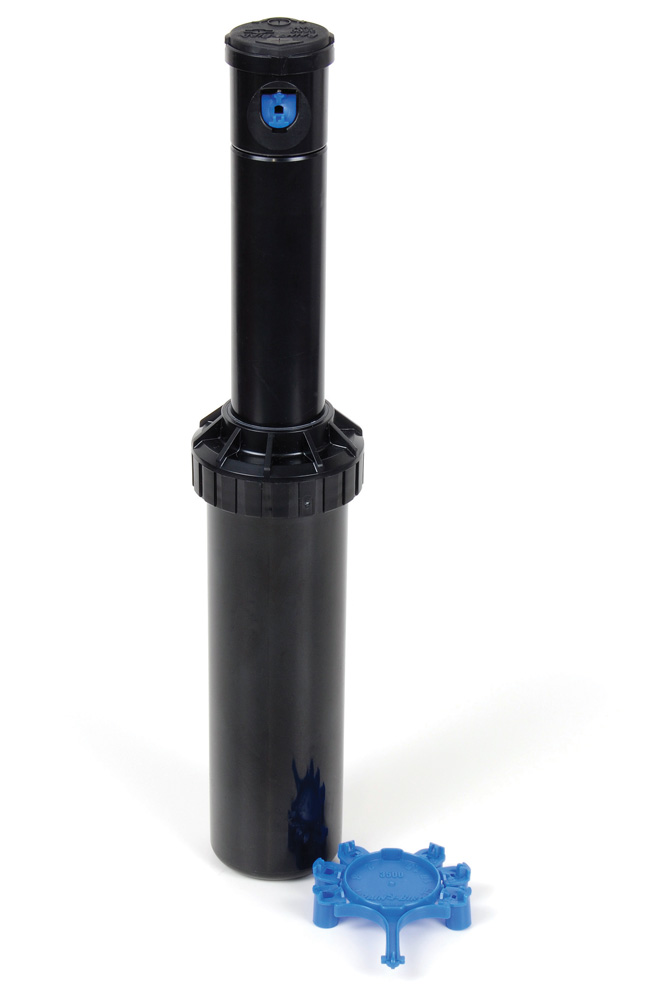
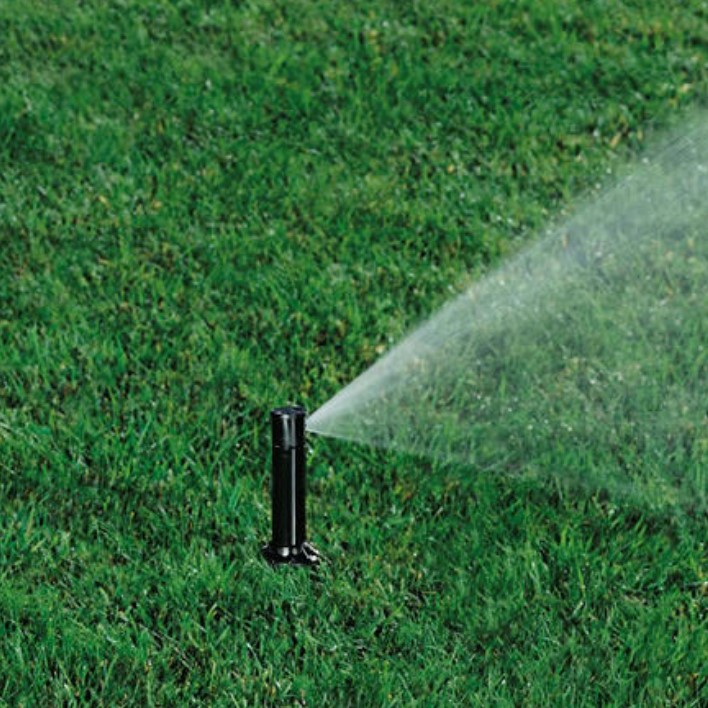
Example of a dynamic sprinkler: Toro MINI8 oRain Bird3504 - With 0.75 nozzle at a pressure of 1.7 bar, it must be mounted at a distance of about 4.5 m from each other and the working angle must be adjusted using the appropriate adjustment screw to the degree of desired angle.
Also in this case there are many models on the market of different quality and with different technical characteristics. In this article we will obviously make examples referring to those suitable for a small / medium-sized residential system.
Basically, for the solenoid valves there are two types of electric controls: 24V and 9V (called bistable).
For those at 24V, the programmer must be installed in a place sheltered from bad weather and humidity, and the electrical connection between it and the pit containing the solenoid valves must be provided. The number of cables to pass will depend on the number of solenoid valves to be installed: a common cable + a cable for each solenoid valve to be mounted (eg for 3 solenoid valves it will be necessary to pass 4 cables, one of which will be common).
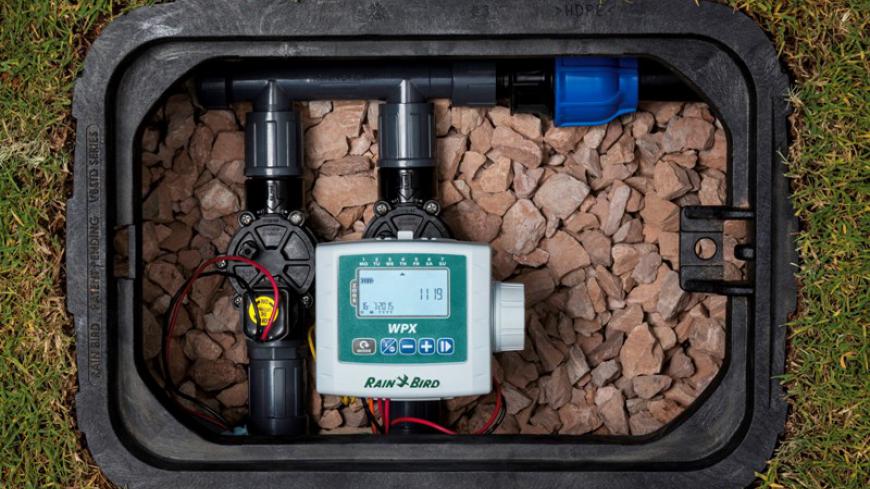
The 9V (bistable) one, on the other hand, is used for systems that must be controlled by 9V battery-operated programmers that are usually positioned together with the solenoid valves in the installation pit as they are IP68 watertight. The choice of these programmers usually takes place in situations where it would be difficult or impossible to make an electrical connection between the programmer station and the solenoid valve pit.
A solenoid valve will therefore be used for each zone provided (e.g. 3 zones = 3 solenoid valves) which will be enslaved upstream by a single bearing pipe connected to it with a manifold with multiple outlets where the solenoid valves will be installed, one on each outlet.
The solenoid valves will be positioned in an inspectable well.
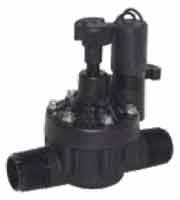
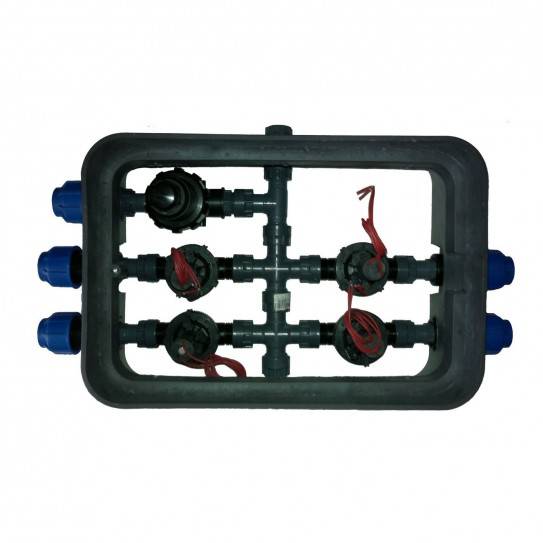
SEE THE SOLENOID VALVES SEE THE INSPECTION WELLS
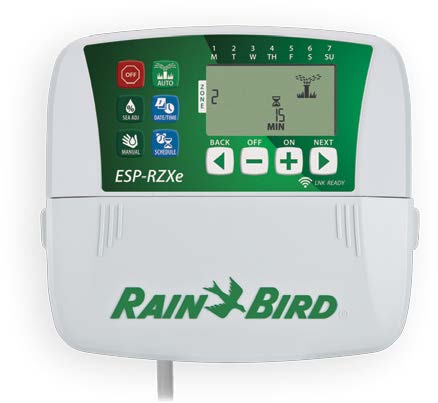
Also for the choice of the programmer the market offers a wide choice. Basically they are divided into two categories as mentioned before: 24V and 9V (bistable). The choice of voltage will be made according to the type of solenoid valves that will be installed.
Obviously it will also be necessary to choose the right programmer for the number of zones or sectors (solenoid valves) that it will have to control. For the residential market there are programmers ranging from 1 to 24 zones or sectors. For sports facilities or urban planning, you can reach hundreds.
Most of the programmers on the market today are also equipped with a predisposition for a remote control system with Wi-Fi connection by means of special modules sold as an option.
Once the right programmer has been chosen, it must be connected to the solenoid valves with a cable that will act as a common one and a cable for each zone or solenoid valve.
OUR ADVICE
As stated, building a state-of-the-art system is anything but simple.
So if you don't want to make a mistake, it would be useful to turn to "real professionals" in the sector, and we also explain what we mean by "real professionals": when it comes to irrigation systems for lawns or gardens in general, it is not simply a question of having knowledge of plumbing or knowing how to connect sprinklers or pipes. It is necessary to have deep knowledge of what our lawn or plants really need in terms of water, as well as to know exactly how the components that will form the system work. So, although a plumber can make a good domestic and bathroom water system, it is unlikely that he will have the right knowledge to make a good irrigation system for turf.
The best thing to do is therefore contact green professionals with proven experience in the field of irrigation systems.
For those who want to create a system with do-it-yourself, however, we recommend that you be guided by specialized companies in the sector, at least in the most important things such as the design and the materials to be used.
For example, it is possible to have the design of your plant carried out at very low costs:SEE THE DESIGN
Together with the design, a list of materials and components is usually supplied which will simplify their choice.SEE THE COMPONENTS